What are Landscapes in Unreal Engine 4?
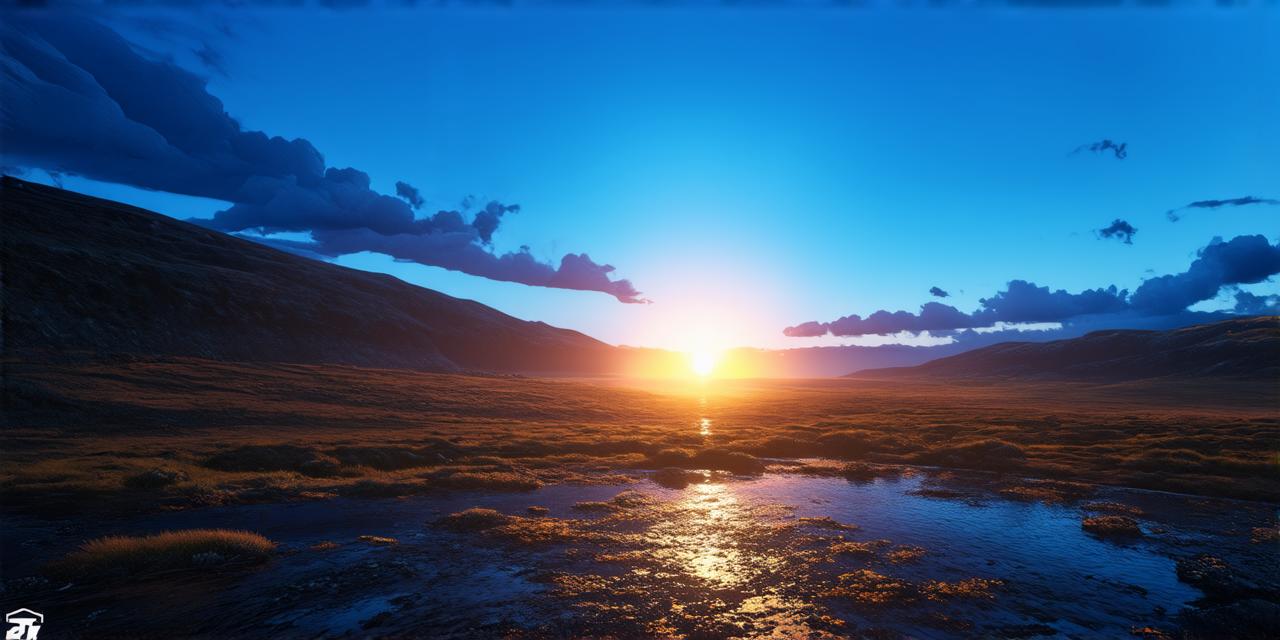
Before diving into the recommended size for landscapes in UE4, let’s first define what a landscape is. A landscape in UE4 is a large, expansive area of terrain that can be viewed from multiple angles and distances. Landscapes are typically used to create outdoor environments such as forests, mountains, deserts, and cities.
Recommended Size for Landscapes in UE4
The recommended size for landscapes in UE4 depends on several factors such as hardware specifications, the complexity of the landscape, and the intended use case. In general, it’s best to keep landscapes as small as possible while still achieving the desired level of realism and detail.
One common misconception is that larger landscapes are always better. However, this is not necessarily true. Larger landscapes can lead to longer loading times and reduced performance, especially on less powerful hardware. Additionally, larger landscapes require more resources to render, which can impact the overall visual quality of the scene.
Another important factor to consider when determining the recommended size for landscapes in UE4 is the intended use case. If the landscape will be used primarily for previsualization (previs) or prototyping, a smaller size may be sufficient. However, if the landscape will be used for final rendering or real-time graphics, a larger size may be necessary to achieve the desired level of detail and realism.
Optimizing Landscapes for Performance and Visual Appeal
Once you’ve determined the recommended size for your landscape in UE4, the next step is to optimize it for performance and visual appeal. Here are some tips to help you achieve this:
- Use terrain editing tools to create a seamless, continuous terrain. This can help reduce the number of edges and vertices in the landscape, which can improve performance.
- Place vegetation strategically to add depth and detail to the landscape without overwhelming it. Use different types of vegetation to create a diverse and realistic environment.
- Apply lighting effects to enhance the mood and atmosphere of the landscape. Use directional light sources to create shadows and highlights, and use ambient light sources to fill in the gaps.
- Optimize your landscape for real-time graphics by reducing the number of draw calls and minimizing the amount of data that needs to be transferred between the CPU and GPU. This can be achieved by using LOD (level of detail) techniques, which allow you to reduce the level of detail in objects that are far away from the camera.
- Use post-processing effects to further enhance the visual appeal of your landscape. Effects such as depth of field, color correction, and motion blur can help create a more immersive and realistic environment.
Real-Life Examples
Example 1: A Forest Landscape
In this example, we have a forest landscape that is designed for real-time graphics. The landscape features a dense forest canopy, a winding river, and a small village in the distance.
To optimize this landscape for performance and visual appeal, we’ve used terrain editing tools to create a seamless, continuous terrain. We’ve also placed vegetation strategically to add depth and detail to the landscape without overwhelming it. Additionally, we’ve applied lighting effects to enhance the mood and atmosphere of the scene.
To further optimize this landscape for real-time graphics, we’ve used LOD techniques to reduce the level of detail in objects that are far away from the camera. We’ve also applied post-processing effects such as depth of field and color correction to create a more immersive and realistic environment.